
If you’re reading this, you’ve probably seen a damp patch on the wall next to your bathroom. Or maybe your downstairs neighbour has already knocked on your door about a stain on their ceiling.
I’ve been in the tile business for about 15 years, and bathroom leakage is one of the most common problems people come to us with. In most cases, the leak itself isn’t hard to fix. The trouble is that people fix the wrong thing first.
I’ve seen people re-grout the entire bathroom floor, and the damp came back a month later because the actual problem was a pipe joint inside the wall. I’ve also seen walls broken open when the water was coming from a small gap around the floor trap.
So before you call anyone or spend money, take a day or two and find out where the water is coming from. This guide explains how, using simple tests you can do yourself.
Why It’s Hard to Find a Bathroom Leak
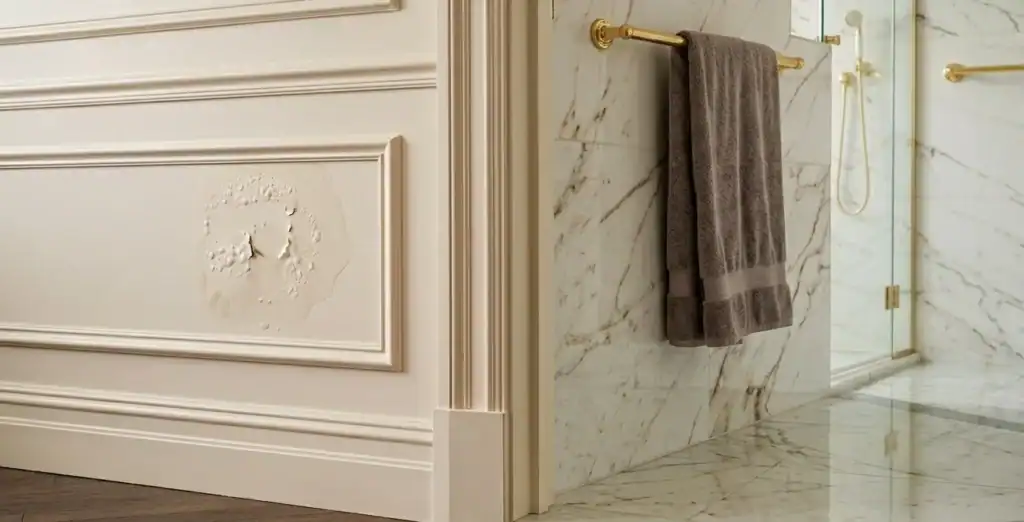
Water doesn’t come straight out where the leak is. It travels along pipes, through gaps in the plaster and under the tiles, and then shows up somewhere else.
A leak in the shower corner can show up as a damp patch on the bedroom wall, a metre or two away. A leak near the floor trap can stain the ceiling below, but not exactly under the trap.
In my experience, almost every bathroom leak comes from one of these five places:
- Water supply pipes, the concealed pipes going to your taps, mixer and geyser
- Drain pipes from the basin, shower area and WC
- Floor trap (Nahani trap), especially the joint between the trap and the floor
- Tile joints and grout that are cracked, missing or soaking up water
- Floor waterproofing that has failed, or was never done properly in the first place
Each of these leaves slightly different signs. If you know what to look for, you can usually narrow it down to one or two.
Step 1: Look Carefully at the Damp Patch
Don’t start testing straight away. First, look at where the damp is and notice when it gets worse. This tells you a lot.
| What you see | What it usually means |
|---|---|
| Damp on the bedroom wall, low down near the floor | Water coming through the shower floor, grout or floor waterproofing |
| Damp at the height of your taps or mixer | A concealed pipe or mixer joint is leaking |
| Stain on the ceiling of the flat below | Floor trap, WC connection or floor waterproofing |
| Wall stays wet all the time, even at night | A supply pipe, because it’s always under pressure |
| Gets worse after bathing or flushing | Drain pipe, grout or floor trap |
| White powder on the wall | Water has been coming through for a long time and bringing salt out of the plaster |
The most useful sign is timing. Supply pipes always have water pressure in them, so they leak all day and night. Drain pipes, grout and floor traps only leak when water is being used, so the damp gets worse after a bath.
One more thing. If the stain is on your own ceiling, check the bathroom of the flat above you first. I’ve seen people spend money on their own bathroom when the leak was coming from upstairs.
Step 2: Check the Supply Pipes First
I always check supply pipes first, because they leak all the time and cause the most damage if left alone.
If you have a water meter:
- Close all taps. Make sure the washing machine is off, no tank is filling and nobody flushes.
- Write down the meter reading.
- Wait one or two hours without using any water.
- Check the meter again.
If the number has changed, water is leaking somewhere in the supply line.
If you don’t have a meter, which is common in flats:
Close the stop cock (the valve for the bathroom) and keep it closed for a day. If the damp patch starts drying, the leak is most likely in the supply pipes inside the bathroom.
You can also touch the damp area early in the morning. If it’s just as wet after a whole night with no water use, it’s probably a supply pipe.
In older buildings, I often find the problem in old GI pipes that have rusted from the inside. In newer bathrooms, it’s usually a joint behind the mixer or diverter, or at the geyser connection.
Step 3: Test One Thing at a Time
If the supply pipes look fine, the leak only happens when water is being used. Now you need to find out which part of the bathroom it’s coming from.
The key is to test only one thing at a time. If you run the shower and flush the toilet together, you won’t know which one caused the damp.
Before you start, let the damp patch dry as much as possible. Draw a light pencil line around its edge so you can see if it spreads.
Test 1: Basin
Run the basin tap for 10–15 minutes. Be careful not to splash water on the floor. Then check the wall and the ceiling below over the next few hours.
If the damp spreads, check the basin waste pipe and where it goes into the wall.
Test 2: WC
Flush the toilet a few times over an hour. Check around the base of the toilet and the ceiling below.
If damp appears, the problem is usually the connection between the toilet and the drain pipe. This happens a lot after a new toilet has been fitted, or if the old one has moved slightly.
Test 3: Shower wall
Use the hand shower to spray only the wall tiles in the bathing area for 10–15 minutes. Try to keep the water off the floor, and let it go straight into the drain.
If damp shows up after this, water is getting in through the wall grout, often at the corners or around the mixer.
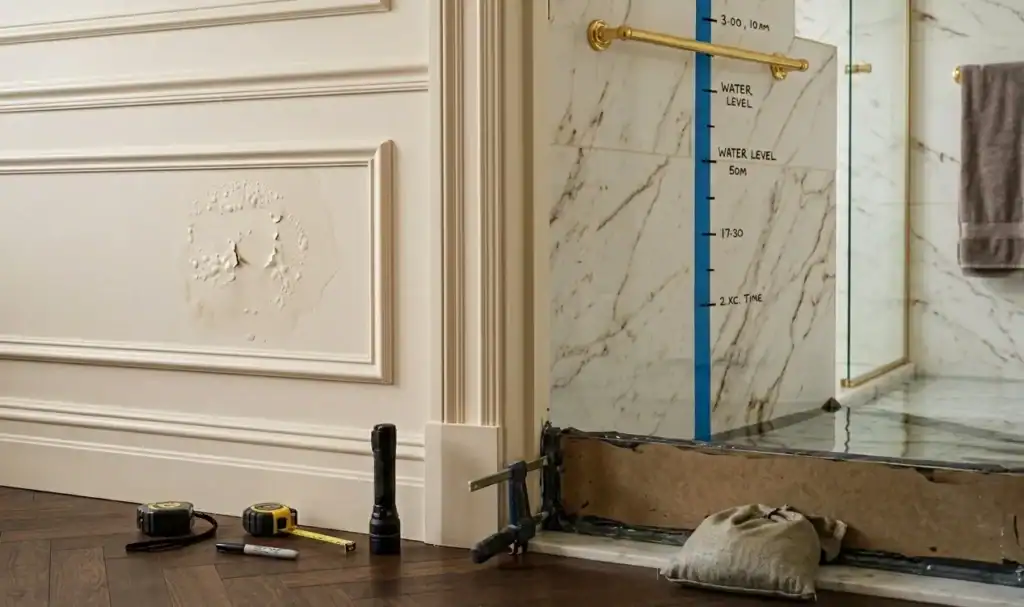
Test 4: Floor ponding test
This one checks the floor tiles, grout and waterproofing together.
- Close the floor trap properly. A plastic bag filled with water, pressed into the trap, works well.
- Fill the bathing area with water about 2–3 cm deep.
- Stick a piece of tape on the wall at the water level.
- Leave it overnight and don’t use the bathroom.
- In the morning, check the water level and look at the walls and the ceiling below.
If the water level has gone down, or damp appears below, water is going through the floor. That means the grout or the waterproofing underneath has failed.
Test 5: Floor trap
Now pour a bucket of water straight into the floor trap, without wetting the tiles around it.
If damp shows up after this test but not after the ponding test, the problem is the trap itself, or the joint between the trap and the floor. In Indian bathrooms, this is one of the most common leak points I come across.
Step 4: Check the Tiles and Grout Closely
While your tests are going on, take a close look at the tiles themselves. Very often the problem is right in front of you.
Look for:
- Cracked or missing grout, especially in corners and around the floor trap
- Dark or black grout lines, which usually means the grout is soaking up water
- Gaps around the mixer, taps and shower outlet, where pipes come out of the wall
- Gaps between the tiles and the floor trap
Also tap the tiles lightly with a coin. If a tile sounds hollow instead of solid, it has lost its grip on the floor, often because water has got under it. Leave hollow tiles too long and they can lift or crack. I’ve explained this in more detail in why tiles pop up.
Step 5: When You Should Call Someone
You can find most leaks yourself with these tests. But call a plumber or a waterproofing expert if:
- The damp keeps spreading and none of your tests give a clear answer
- You think a pipe inside the wall is leaking
- Water is going into your neighbour’s flat
- You see cracked plaster, rusting steel or crumbling concrete
Good professionals use moisture meters and thermal cameras to find wet areas without breaking tiles. They can also pressure-test the pipes.
My advice: tell them which of your tests caused the damp. It will save them time, and save you money.
How Each Problem Is Usually Fixed
Once you know where the water is coming from, the repair is much simpler.
| Where the leak is | How it’s usually fixed | Do tiles need to be broken? |
|---|---|---|
| Cracked or porous grout | Remove the old grout and re-grout, preferably with epoxy in the bathing area | Usually no |
| Gap around the floor trap | Seal the joint around the trap | Only if the trap itself needs replacing |
| Gaps around taps and mixer | Seal around the fittings | No |
| WC connection | Re-fix or replace the connector | Rarely |
| Pipe joint inside the wall | Open the wall at that spot and repair the joint | Yes, but only in that area |
| Failed floor waterproofing | Chemical treatment may help for a while, but a lasting fix usually means redoing the floor | Often yes |
A word about “leakage repair without breaking tiles.” You’ll see a lot of contractors offering this. For grout and joint leaks, these treatments can work well. But if the waterproofing under the tiles has completely failed, or a pipe inside the wall is leaking, a surface treatment usually just delays the problem. Always ask the contractor where exactly the leak is before you agree to any treatment.
If grout is the problem, I usually recommend epoxy grout for the bathing area. It holds up against water much better. You can read why in epoxy grout vs cement grout. If you’re staying with cement grout, sealing it helps a lot; see do you need to seal grout.
How to Avoid Leakage in a New Bathroom
If you’re building or renovating, these are the things I’d never skip:
- Waterproof the floor before tiling, and take it up the walls in the bathing area.
- Give the floor a proper slope towards the trap, so water doesn’t sit in the corners.
- Pressure-test the pipes before closing the walls. A lot of plumbers skip this. Insist on it.
- Use epoxy grout in wet areas, or seal cement grout and look after it.
- Fix small grout cracks early. A small gap left alone for months can let a lot of water into the floor.
The tile you choose matters too. My guide on the best tiles for bathroom floor covers slip resistance and water absorption.
Bottom Line
Bathroom leakage looks confusing, but it’s usually easy to trace if you go step by step.
Look at where the damp is and when it gets worse. Check the supply pipes first. Then test the basin, WC, shower wall, floor and floor trap, one at a time.
Most leaks come from grout, the floor trap, fittings or pipe joints, and many of these can be fixed without breaking the whole bathroom. But if the waterproofing underneath has failed, no surface treatment will last. Find the real cause first, then fix it once, properly.
FAQ
How do I find where my bathroom leakage is coming from?
Start by noticing where the damp is and when it gets worse. If it’s wet all the time, suspect a supply pipe. If it gets worse after bathing or flushing, suspect the drain, grout or floor trap. Then test each part of the bathroom separately.
Can bathroom leakage be fixed without breaking tiles?
Many times, yes. Grout and joint leaks can usually be fixed by re-grouting or sealing. But a leaking pipe inside the wall, or failed waterproofing, usually needs some tiles removed.
Why is my bedroom wall damp next to the bathroom?
Water from the bathing area, the floor or a concealed pipe is travelling through the wall. Damp near the floor usually points to the floor or bathing area. Damp at tap height usually points to a pipe or mixer joint.
Why is water leaking from my bathroom into the flat below?
The usual causes are a gap around the floor trap, a loose WC connection, cracked grout or failed floor waterproofing. The ponding test and the floor trap test will help you find which one.
How long should I leave water for a ponding test?
Leave it overnight if you can. The longer you leave it, the clearer the result, especially for slow leaks.
Can cracked grout cause bathroom leakage?
Yes. Water goes through cracked or missing grout and gets under the tiles. Repairing grout early, and sealing cement grout, helps prevent this.
Is epoxy grout better for stopping bathroom leaks?
Epoxy grout lets in far less water than cement grout, so it’s better for bathing areas. But it can’t fix a leaking pipe or failed waterproofing underneath.
When should I call a professional for bathroom leakage?
Call someone if the damp keeps spreading and your tests don’t show the cause, if you think a pipe inside the wall is leaking, if water is reaching your neighbour’s flat, or if you see cracks or damage in the wall or ceiling.
